How to Compress an Image on Mac?

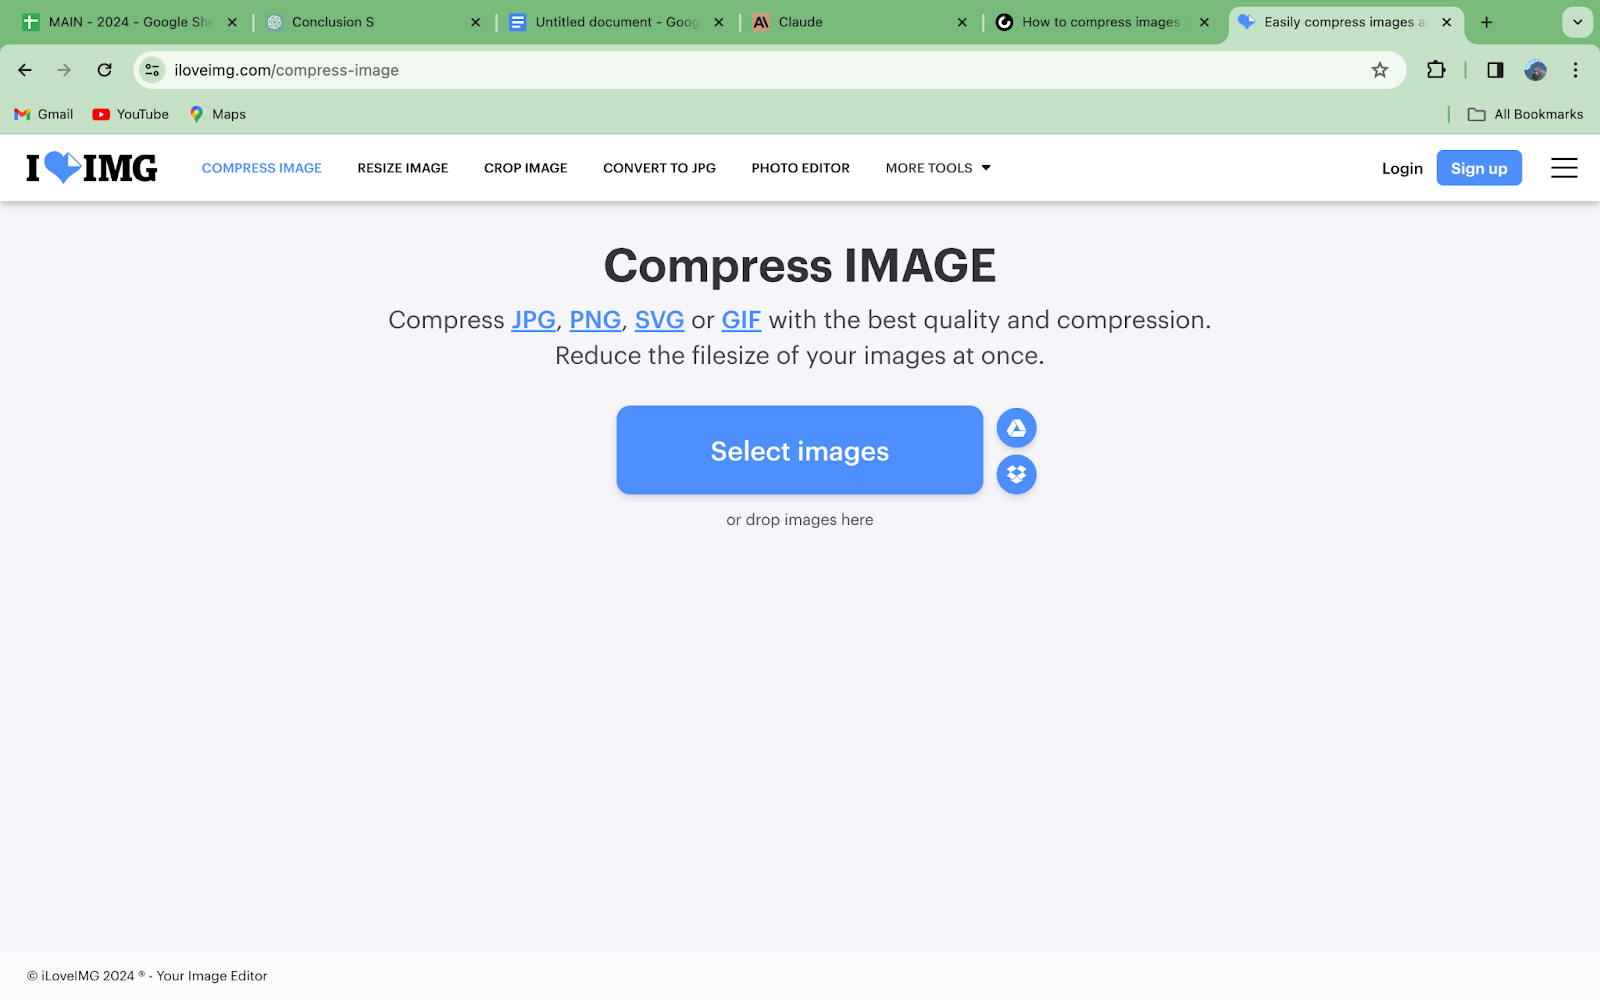
Are you struggling to reduce the size of your images on your Mac? Well, you’re in luck because we’re going to cover just that! Compressing an image on your Mac can help you save storage space and make it easier to share or upload your pictures online.
In this article, we will discuss How to Compress an Image on Mac. We’ll explore step-by-step methods to shrink the size of your images without compromising on quality.
Understanding Image Compression
Image compression is a technique used to reduce the size of an image file without significantly impacting its quality. It’s essential when you need to save storage space or share images online. There are two main types of image compression: lossless and lossy.
Lossless compression maintains the original quality of the image while reducing its file size. On the other hand, lossy compression removes some data from the image, resulting in a smaller file size but a slight decrease in quality. When you compress an image on Mac, you can choose between these two methods depending on your needs.
Understanding image compression is crucial when you want to learn how to compress an image on Mac effectively. By selecting the appropriate compression method and settings, you can strike a balance between file size and image quality, ensuring that your compressed images still look great while taking up less storage space.
Native Methods to Compress an Image on Mac
If you’re wondering how to compress an image on Mac, you’ll be glad to know that there are native methods available. These built-in tools allow you to compress images without the need for third-party software.
Two popular native methods for image compression on Mac are using the Preview app and the Photos app. The Preview app is a versatile tool that comes pre-installed on every Mac, allowing you to view, edit, and compress images with ease.
By using these native methods, you can quickly learn how to compress an image on Mac without the hassle of downloading additional software. Whether you choose the Preview app or the Photos app, you’ll be able to reduce the file size of your images while maintaining their quality.
How to compress an image using Preview on Mac?
- Step 1: Open the image you want to compress in Preview. You can do this by double-clicking on the image file or right-clicking and selecting “Open With” > “Preview.”
- Step 2: Click on “File” in the menu bar at the top of the screen and select “Export.” This will open the Export window.
- Step 3: In the Export window, choose the format you want to save the compressed image in, such as JPEG, PNG, or TIFF. Select the format that best suits your needs.
- Step 4: Adjust the quality slider to balance file size and image quality. Moving the slider to the left will result in a smaller file size but lower image quality, while moving it to the right will maintain higher image quality but with a larger file size.
- Step 5: Click “Save” to compress the image. Choose a location on your Mac where you want to save the compressed image and click “Save” again.
Advantages:
Preview is a free, built-in app on every Mac, making it easily accessible.
The process is straightforward and easy to follow, even for beginners.
Disadvantages
Preview offers limited compression options compared to some third-party apps.
Compressing multiple images can be time-consuming, as you need to repeat the process for each image individually.
FAQs
What is the difference between lossless and lossy compression?
Lossless compression reduces the file size without affecting the image quality, while lossy compression removes some data from the image, resulting in a smaller file size but a slight decrease in quality.
Which compression format should I use?
The best compression format depends on your specific needs. If you need to preserve the original quality of the image, choose a lossless format like PNG or TIFF. If you are willing to sacrifice some quality for a smaller file size, choose a lossy format like JPEG.
How can I compress multiple images at once?
There are several ways to compress multiple images at once on a Mac. You can use the Preview app, the Photos app, or a third-party image compression tool.
How can I reduce the file size of an image without losing quality?
There are several ways to reduce the file size of an image without losing quality. You can use a lossless compression format, resize the image, or crop the image.
Conclusion
Learning how to compress an image on Mac is a valuable skill that can help you save storage space and share images more efficiently. By using native methods like Preview or Photos, or exploring third-party apps, you can easily reduce image file sizes without compromising quality.
Whether you’re a professional designer or just someone who wants to optimize their image library, mastering image compression on Mac is a straightforward process that can greatly benefit your workflow.


